Category Archives: Recipes

The Purple Yam Secret

We called them camote and they were buried in our backyard at the foot of the banana trees. My nanny would take the itak (bolo) and stab the dirt where the dark green tops had sprouted, pulling on them until the yams were yanked out of the ground.

After a virtuous washing, the yams were boiled in a pot until tender and served for breakfast with a square of butter. The butter would melt and seep into its dark purple crevices, coating its sweet and soft meat with even more love. We would gobble it up warm, wiping the butter from our chins, licking our lips and then singing:

Camote, the musical fruit! 
The more you eat, the more you toot!

Ube, or purple yam, was as ubiquitous in the Philippines as weeds in any yard. I remember in a college house I rented they found that the yard had been infiltrated by the tuber crop, forcing the landlord to dig them up and chuck them en masse.

But in New York it wasn’t until the last five years that I’ve seen them in Chinatown vegetable stands, apparently imported from Hawaii where I imagine the climate provides as prolific a life. And now urban farmers’ markets have caught on, and the exotic sweet potato is about to reach infamy in gourmet restaurants. Wait till they hear what Filipinos have made of this purple offender!

How about steamed, baked, boiled, fried, grilled, candied, and made into a jam? Let’s not forget the ube ice cream that tops our favorite dessert halo-halo, a mix of sweetened beans and fruit packed with sugar, ice, milk and flan and you guessed it: even more ube but as a jam.

But we’re getting ahead of ourselves. Below is how to simply bake purple yam for a healthy and tasty snack or dessert. Enjoy!

Wrap yams individually in foil and bake at 375C for one hour. That’s it!
They come out steaming like in this picture. You can serve it on its own, with butter, or with an added twist:

…vanilla ice cream. Heaven in a bowl. Enjoy!

Crispy Pork Belly Adobo

Before I moved to New York ten years ago, I always thought that Filipino cuisine was obscure and unknown, even if Filipinos were everywhere and have never been shy in replicating their home-cooked meals wherever they ended up in the world. 
I am glad that the “authorities” have recognized the basic meat dish called adobo as something short of a little-known miracle in stew preparation, as I’ve discussed here.  Of course I’m not satisfied with just enumerating the four ways I make adobo, I need to go into detail about at least one of them, perhaps the most tedious of all to prepare but is oh-so very worth the effort.
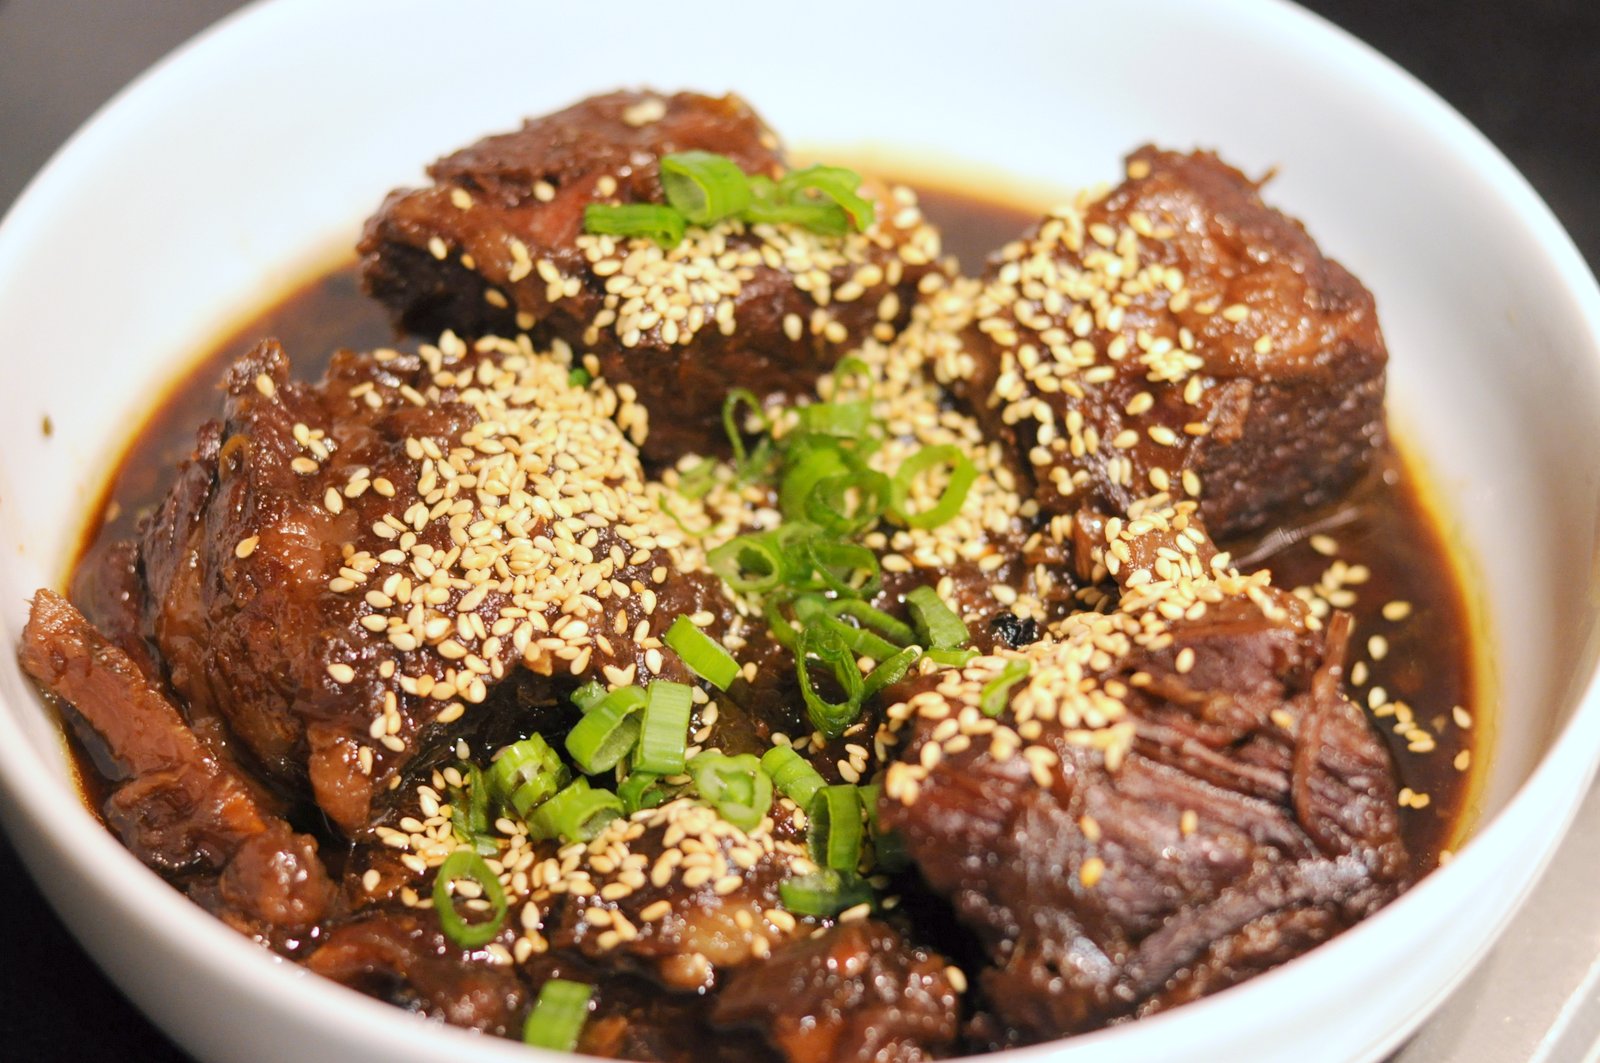
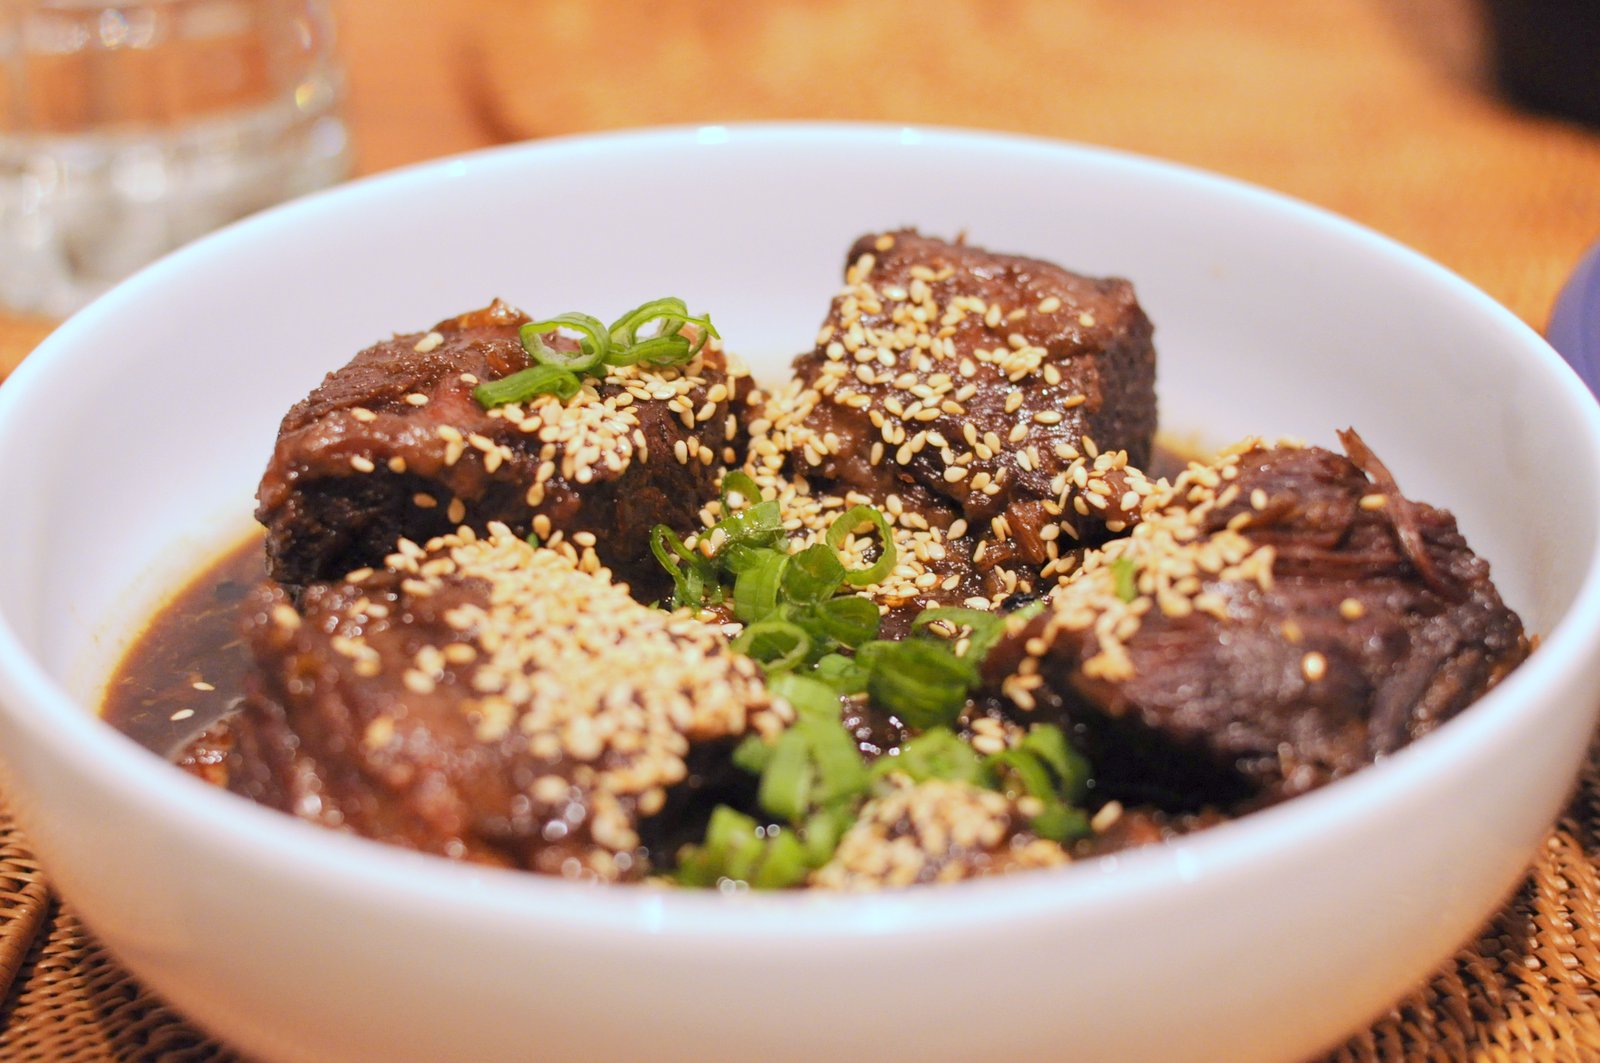
Crispy Pork Belly Adobo not only creates tender pieces of pork stewed in the mixture of soy sauce, vinegar and garlic, it is broiled in an oven for a few minutes for the skin to bubble and create that unmistakable crunch provided only by a dry and scorched pork skin, similar to another popular Filipino dish crispy pata but using belly instead of hock, but with the distinct flavor of adobo, bay leaves and garlic. 
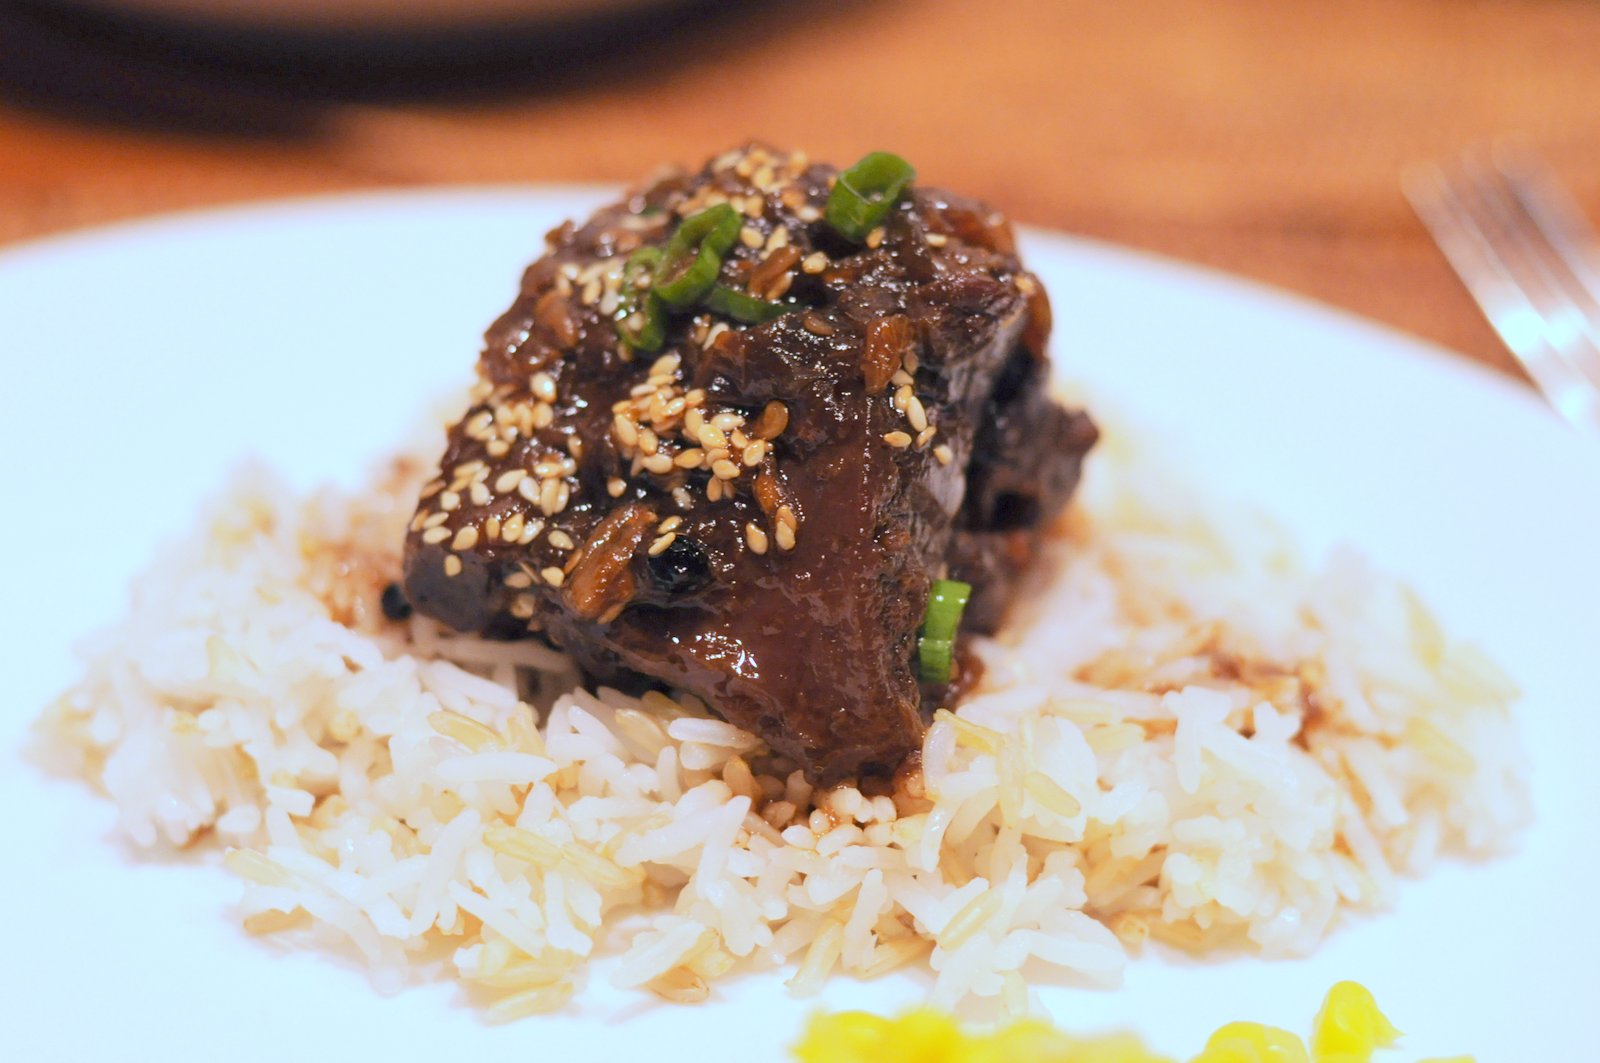
Here it is served with grilled eggplant and rice. 

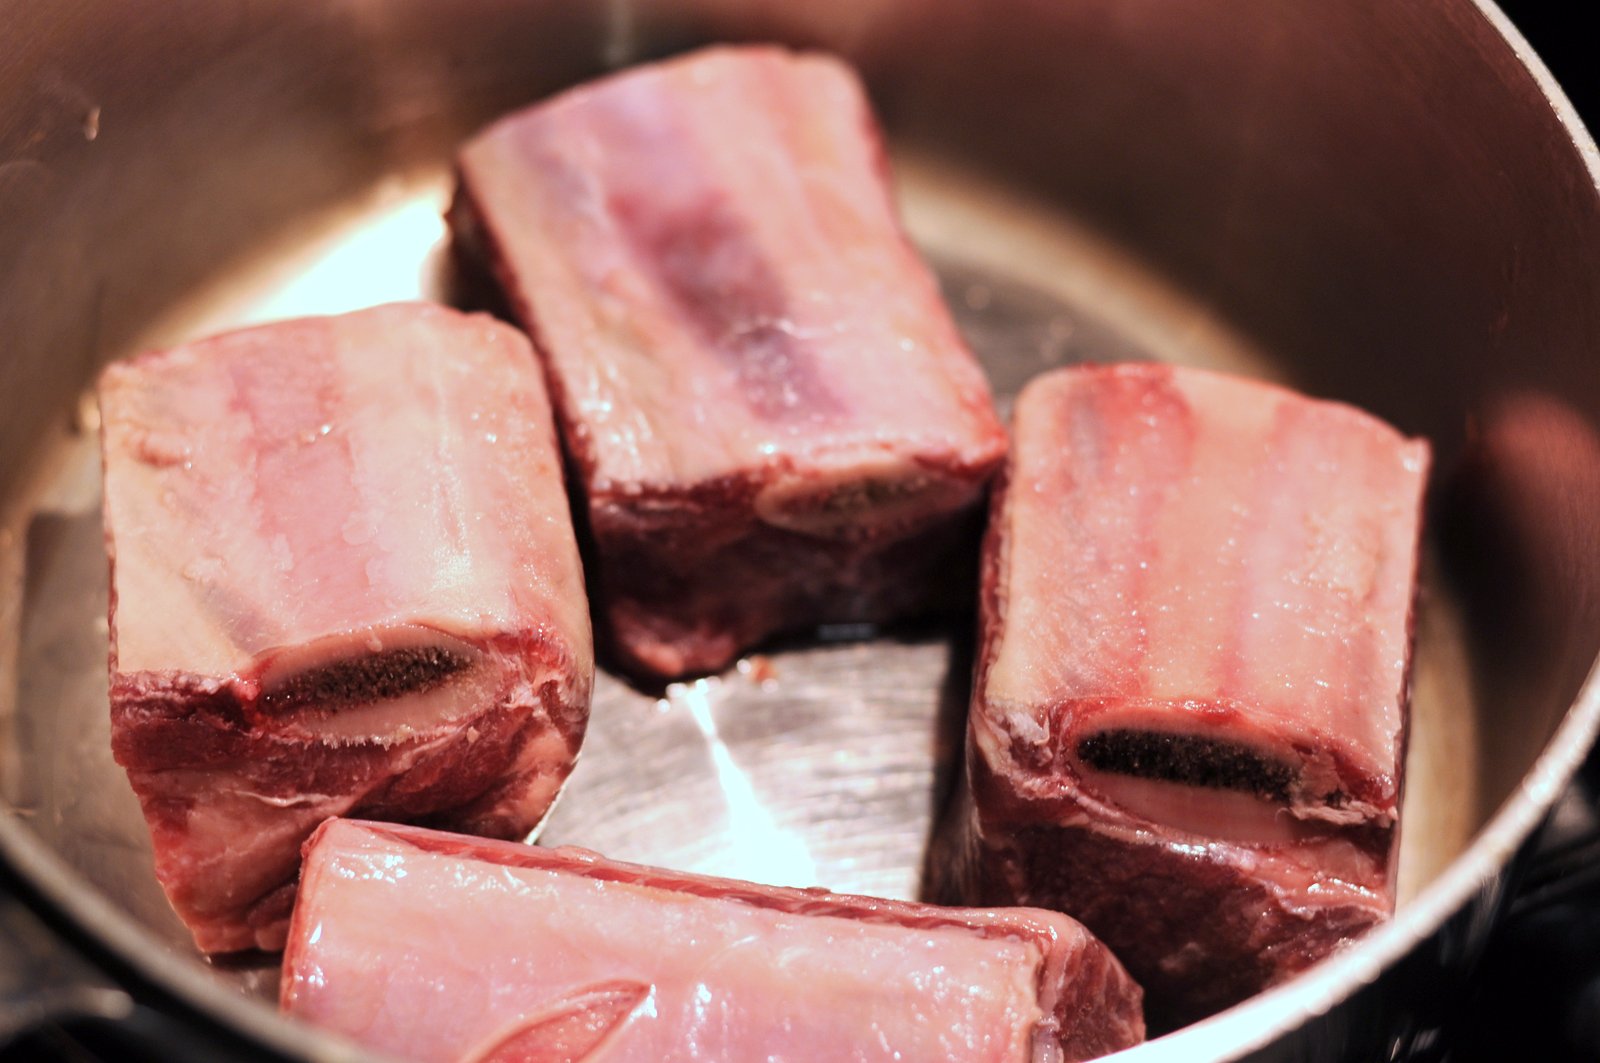
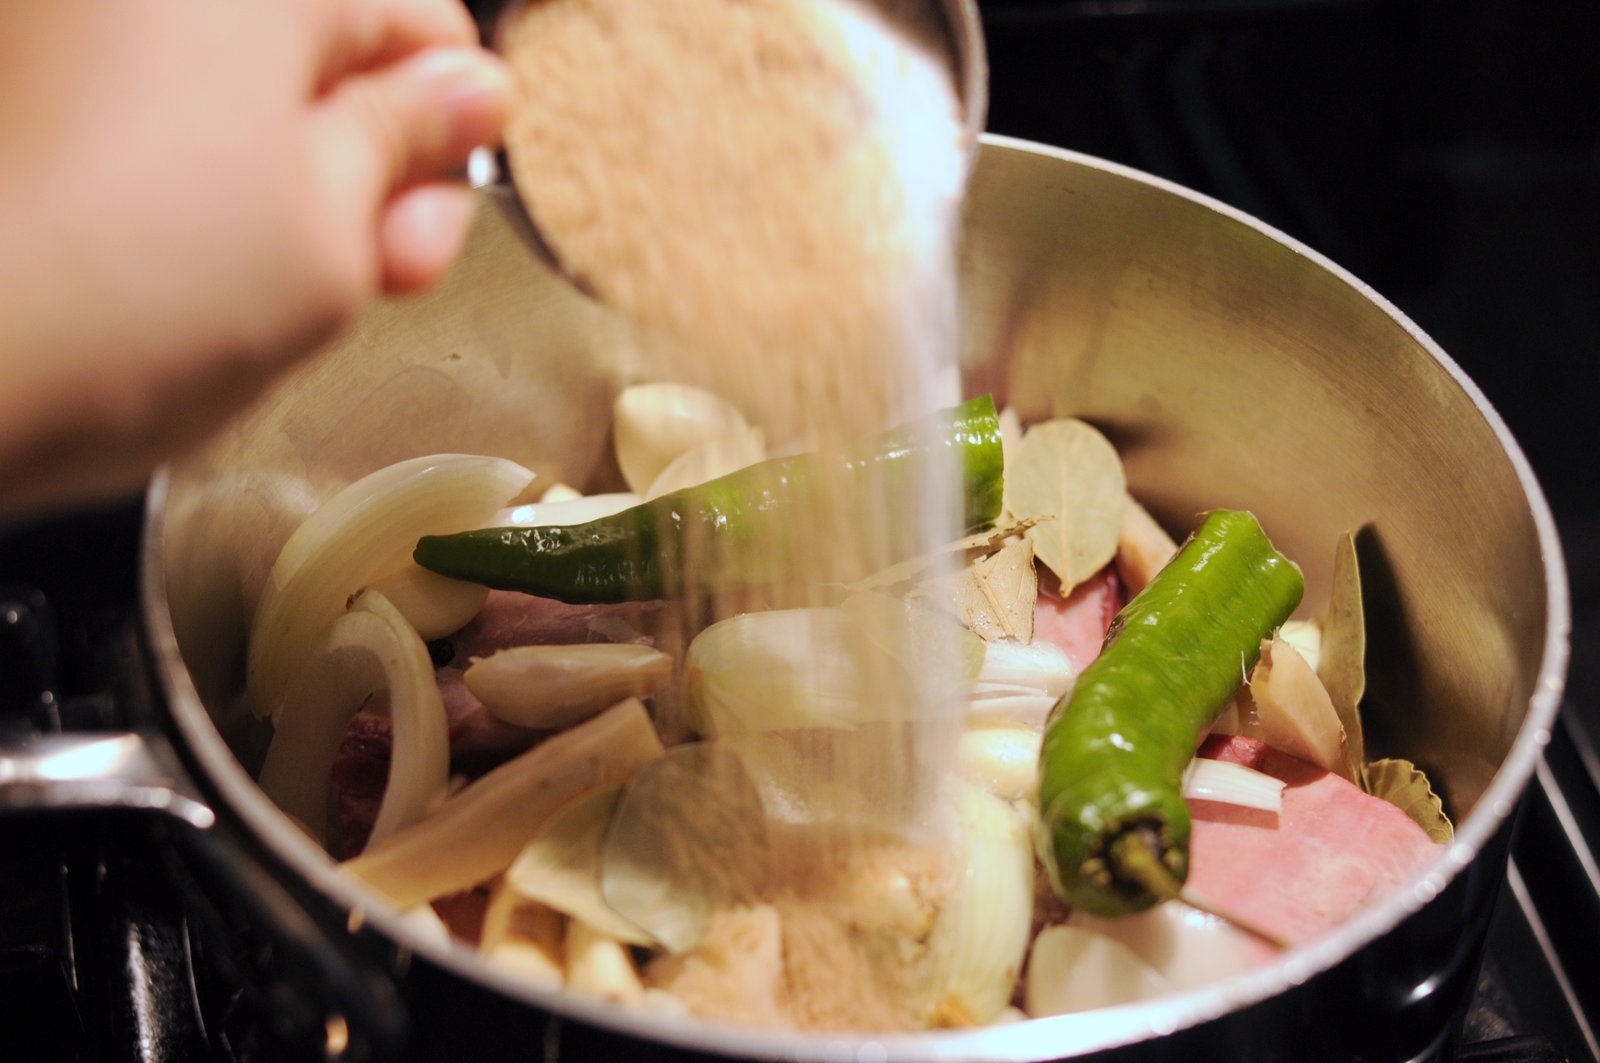
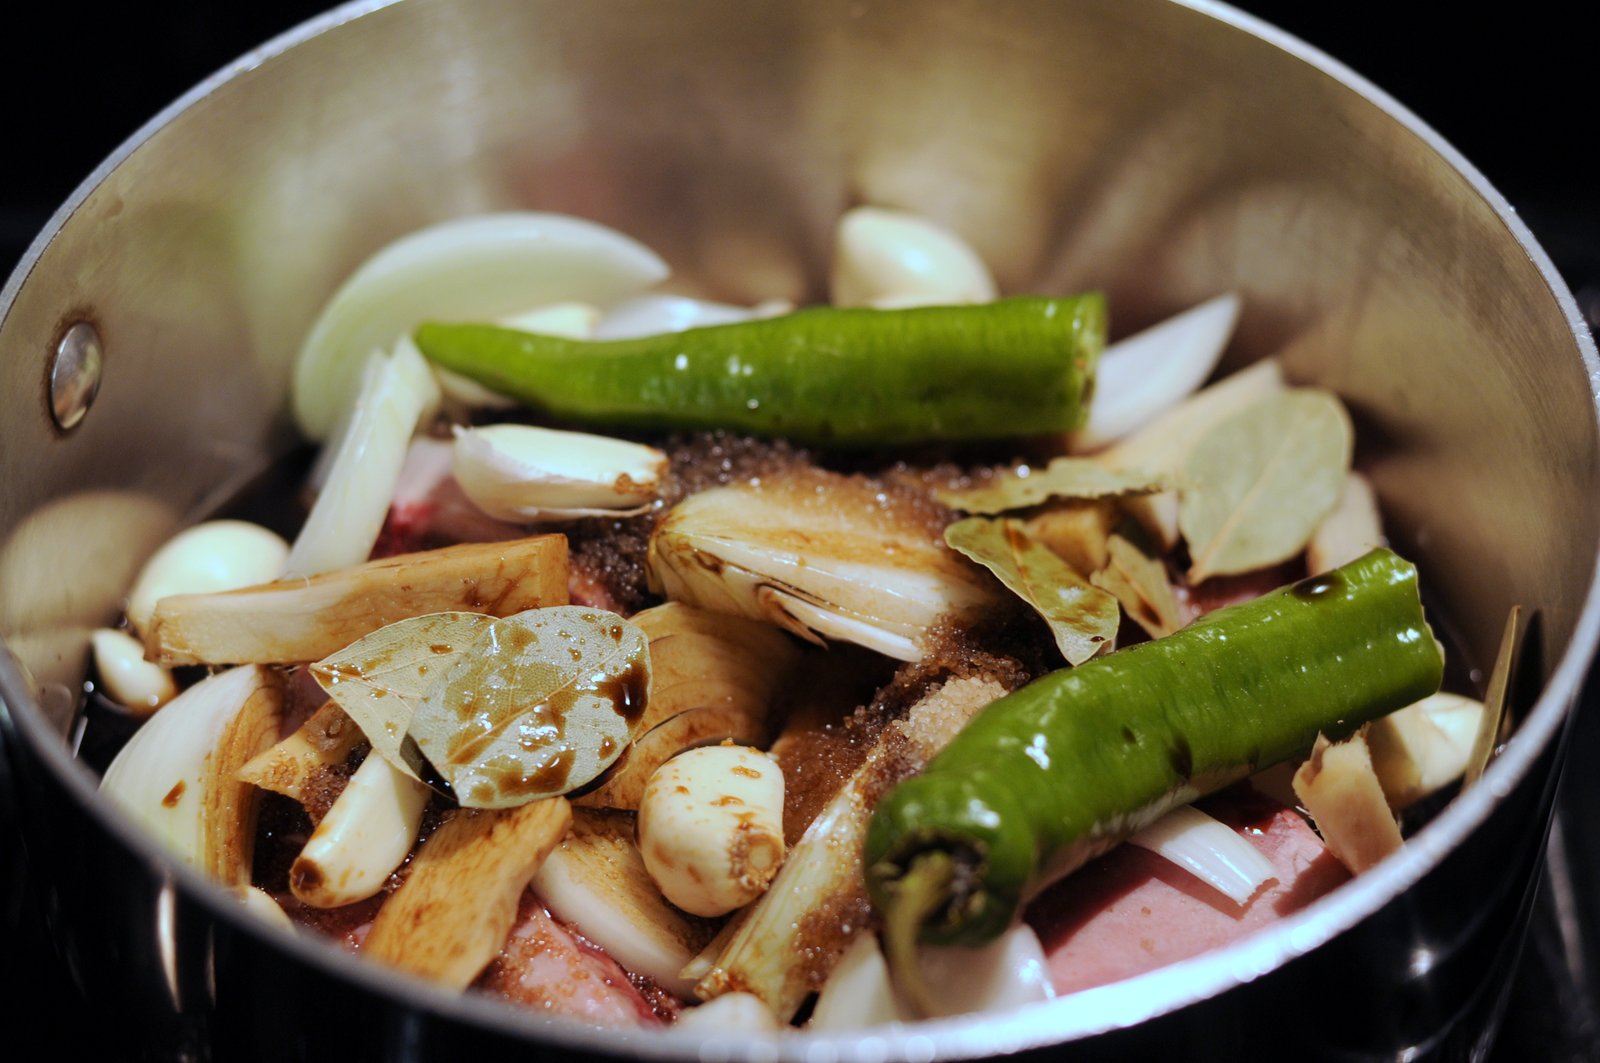
We begin with a few pieces of pork belly skin-side up in a pot, one part each of soy sauce, vinegar and water, plus a head of crushed garlic, bay leaves and peppercorns.
It’s always important to note that this dish works best with Filipino soy sauce, a dark blend of rich soy, as opposed to thinner and lighter sauces like Kikkoman and some other Chinese versions. Filipino soy sauce is available in most Asian markets. 
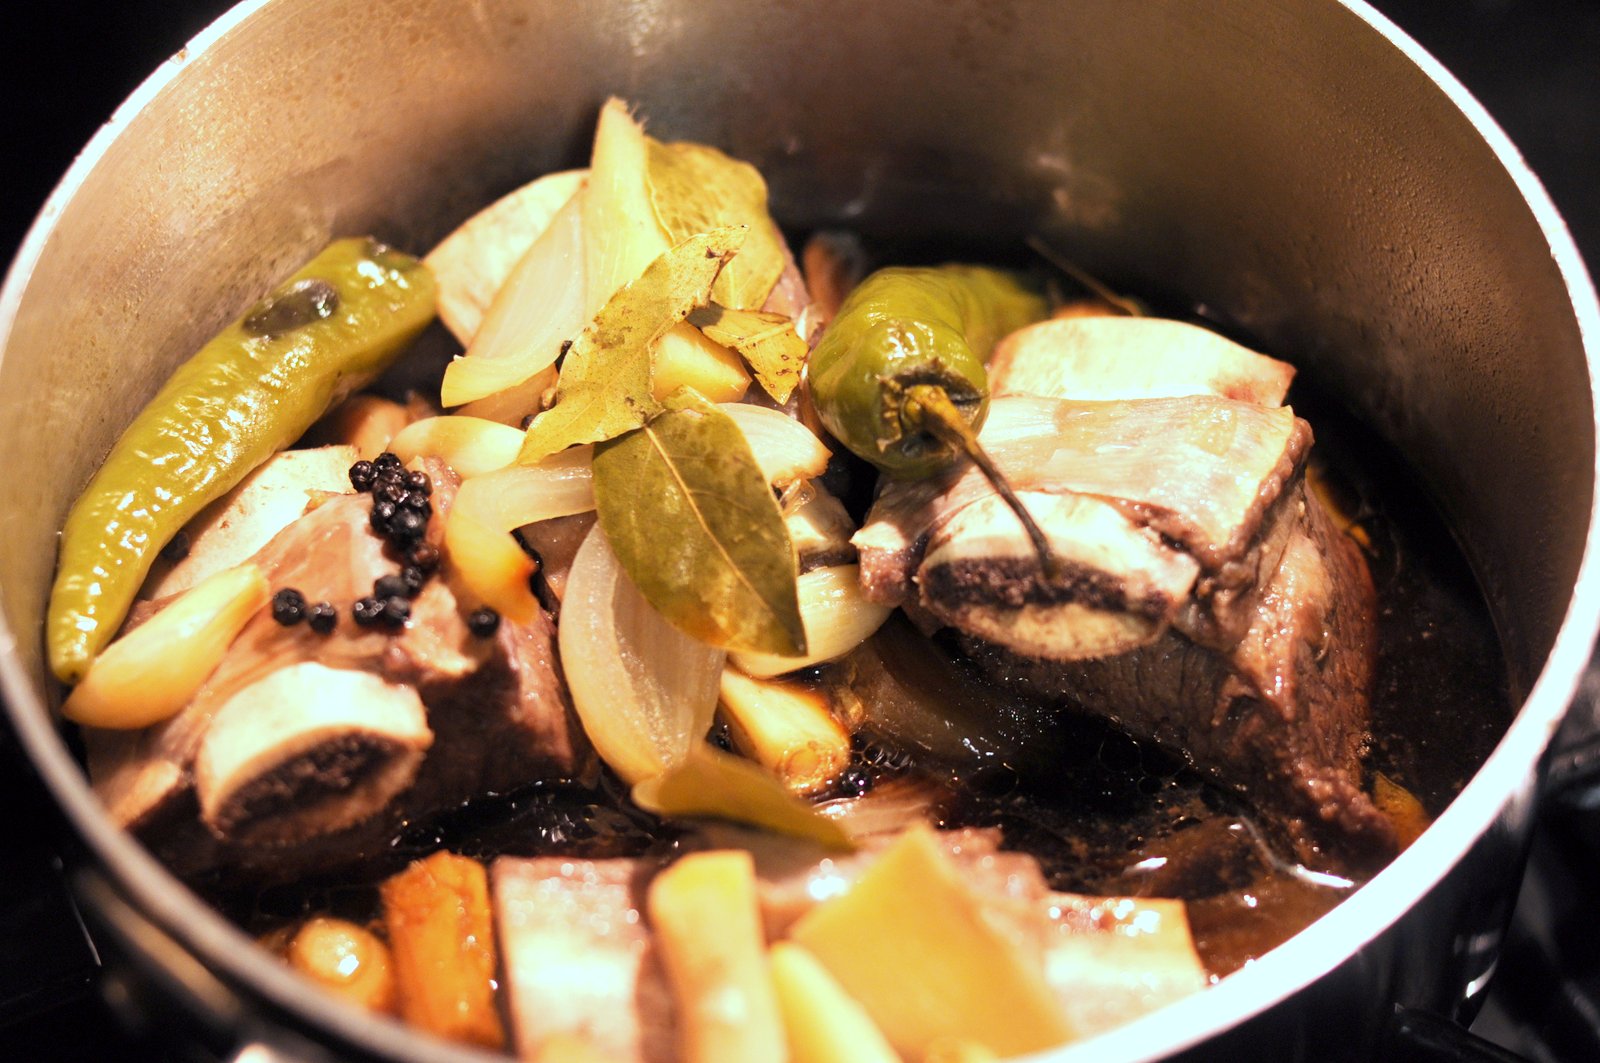
The belly is simmered on low heat for about 90 minutes, covered. 
This is how it is after thirty minutes.
Turn the pieces on one side for the next thirty minutes.
And on the other side for another thirty. Make sure to keep the heat to a low simmer and watch the meat for tenderness or else it will fall apart. 
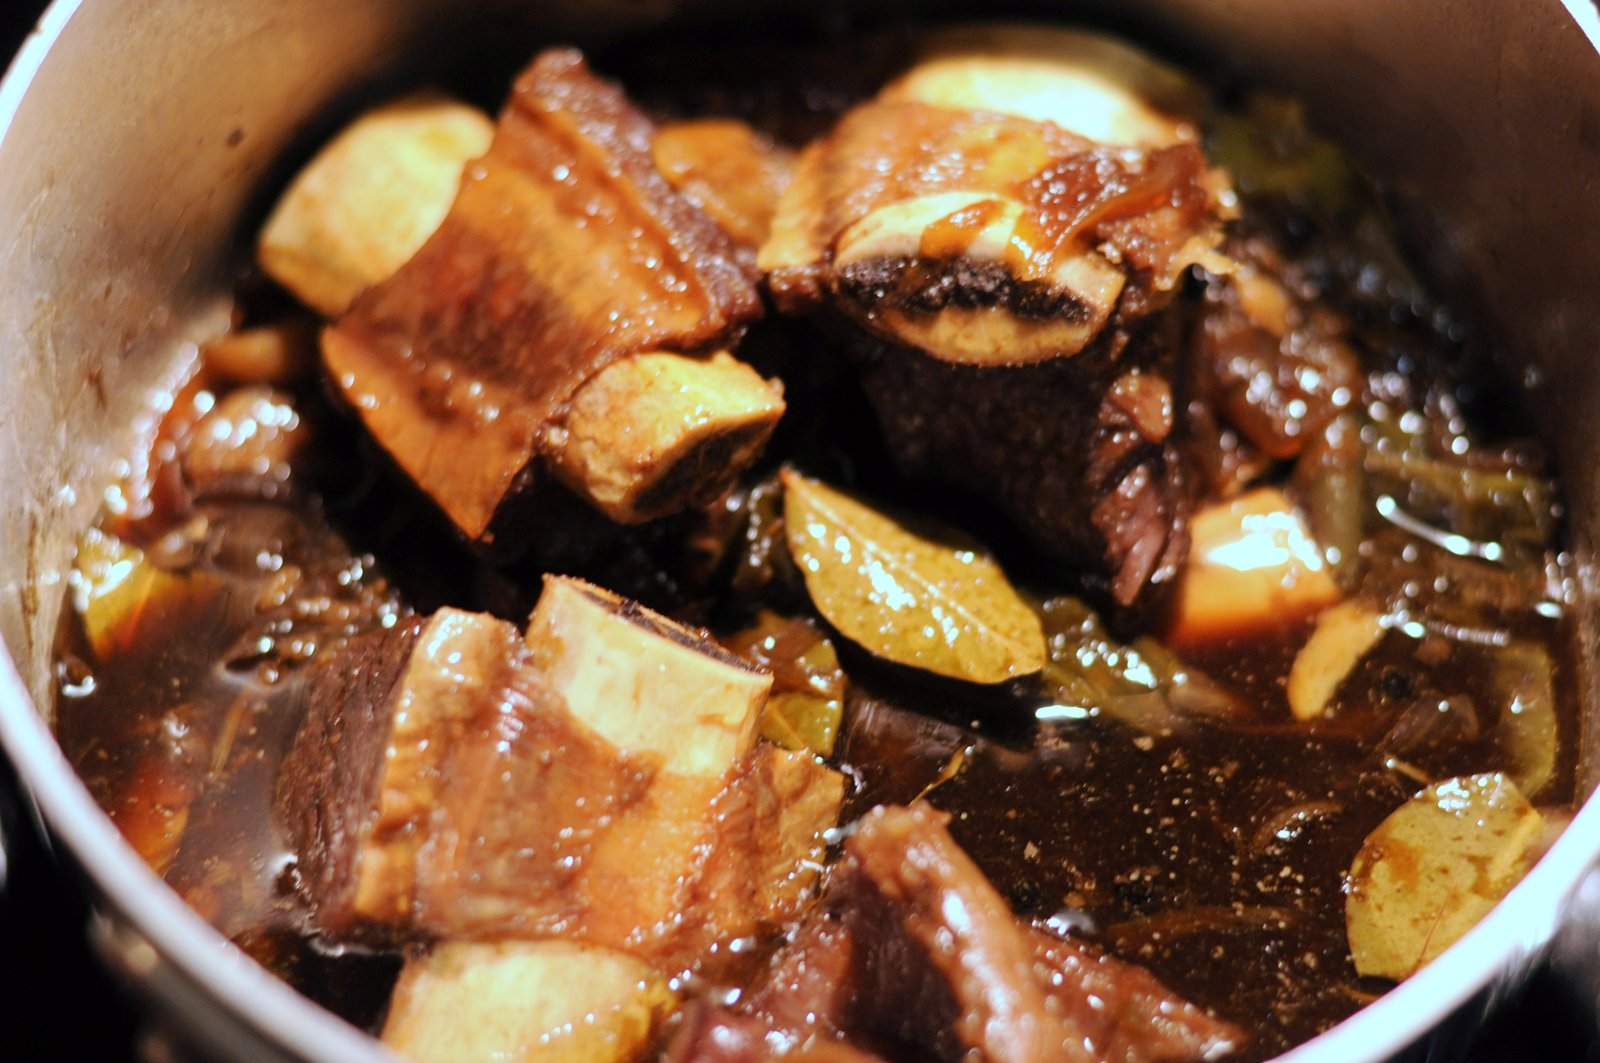
After the meat is tender, put the skin side up and keep the lid off to let the skin dry.
For best results, turn it off and leave it uncovered overnight or for a few hours so the skin dries and is easy to make crispy in the broiler.
Remove meat pieces from the pot and arrange skin side up in a baking dish.
Bake for 15 minutes at 375C to warm up the meat. Transfer to top rack and broil on low for five minutes, watching closely that the skin does not burn but just bubble into a crispy texture.
Remove dish promptly and serve with warm adobo sauce on the side.
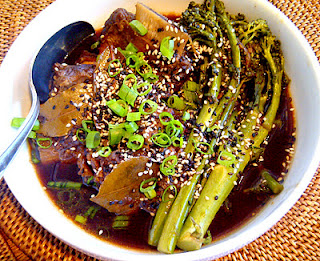
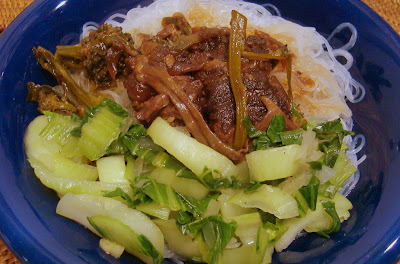
Adobo goes well with rice and vegetable dishes such as grilled eggplant, steamed bokchoy, choy sum, and other greens. We like serving it with mung bean soup for our Filipino Cuisine 101 menu. Recipes to come. Enjoy!

Crispy Pork Belly Adobo

Ingredients:

3-4 pounds pork belly, cut into 2-3 inch square pieces
1 parts white, apple cider or cane vinegar
1 part  water
1 part soy sauce (Silver Swan, or any other Filipino brand works, do NOT use Kikkoman or Japanese soy sauce)
5 bay leaves
1 head garlic, crushed and peeled
1 tsp black peppercorns

Simmer all ingredients in a covered pot with the belly meat side down for about 90 minutes, turning on each side until tender. Allow skin to dry by leaving the pot uncovered before arranging in a baking dish with the skin side up. Bake for fifteen minutes at 375C, then broil on low for 5 minutes, watching closely for burning. You only want the skin to harden and bubble to get that distinct crunch. Serve with a vegetable side and rice. Mangia!


Kimchi Restaurant’s "Korean Beef"

One of the treats I had growing up in Manila in the late 80s was to visit a restaurant called Kimchi, a Korean restaurant similar to the California fast food chain Yoshinoya. They had two main specialties: BBQ Chicken and “Korean Beef,” a stew of the most tender short ribs swimming in the rich thin sauce that was dark, sweet, and slightly hot, topped with chopped scallions and sesame seeds.

It was my favorite but was twice as expensive as the barbecued chicken I often settled for. The chicken was good in its own right but did not provide the same kind of close-your-eyes flavor explosion as the sesame short rib stew.  The Korean Beef’s sauce was good enough to fight for and drizzle on unlimited bowls of rice. It was so delicious and multi-faceted that never in my wildest dreams did I think it could ever be replicated in any home kitchen,  much less in mine.


Fast forward to a couple of decades and a whole continent later, I made my first attempt based on an old recipe I found online, and after years of trial-and-error revisions, now I get to share my version with you! Enjoy!

We begin by placing the short ribs meat-side down in a good pot.

Add all the other ingredients: one whole sliced onion, one head peeled garlic, one chili pepper, bay leaves, and peppercorns.
 Add the sugar. Don’t be shy.
Add equal parts soy sauce and water. Simmer on low heat covered for about 2 hours.
 After thirty minutes.
 
After one hour.
 And done. The meat is falling off the bone and has achieved an almost gelatinous texture.
Roast some sesame seeds in a pan until brown. This releases the flavor of the seeds and gives it a nice roasted flavor when you bite on them. Try it!
The secret of this stew is the slow cooking time. Keeping it in a low simmer allows the meat to soften without falling apart or burning, meshing with the flavors of the sauce. Here it is served with a topping of roasted sesame seeds and chopped scallions.
Serve with rice. This sauce, I swear to God, is worth fighting for.
I use the leftover sauce and pieces of meat in a noodle dish I like. Enjoy!

Kimchi Restaurant’s “Korean Beef” Stew

1-2 lbs beef short ribs, cut crosswise (not flanken)
1 part dark soy sauce (Filipino brand preferred, Chinese variety is okay. Do not use Kikkoman!)
1 part water
1 part white or brown sugar
1 head garlic, peeled
1 onion, cut in half
1 piece ginger, the size of two thumbs, quartered
4 bay leaves
1 large Korean or Jalapeno pepper cut in half
10 peppercorns
1 tablespoon sesame seeds,  roasted in a pan until brown

In a good pot, combine all the ingredients except for the sesame seeds and the scallions. Simmer on low heat for two hours or until the meat is tender. Top with roasted sesame seeds and scallions and serve with rice.

You can add some vegetables on the side at the last minute.
Here I added broccolini, but choy sum and bokchoy would also work.

 Here are the leftovers served over vermicelli and a side of sauteed bokchoy.
Recipe here.

Incidentally, upon searching for the original source of this recipe to credit, I stumbled across a distant cousin of mine who actually obsessed about the same dish too! Here is her version.

Chicken with Nasi Goreng Paste

My cooking is greatly influenced by Filipino cuisine, in which meats are stewed for hours and vegetables are frequently overcooked to a soft mush. A lot of it is done the previous night and reheated, finished or broiled the following day, a practice that requires a lot of planning and makes spontaneous meal options impossible, and cooking small batches a waste of my time.
 
For quick meals we have relied on the quickness of fish and salads, tacos and wraps, protein sources that need only a little cooking and some assembly for a tasty meal.

Chicken with Nasi Goreng Paste, Sauteed bokchoy on the side.

So I’m very happy to be recently leaning towards a happy medium in my cooking, one that is not too slow or too fast (i.e., often cold), which focuses on simple flavors and limited ingredients, with a preparation time of thirty minutes or so.

I wanted to make something similar to my simple chicken curry, but didn’t want to bend over backwards buying ingredients I didn’t already have. Then I remembered that I had a jar of Nasi Goreng Paste lying around. It is a mix of peppers, tomatoes and spices used to flavor fried rice in Indonesian cooking. I’ve had it for a while but never found the time to learn how to make Nasi Goreng. So I decided to experiment and see how the paste would fare as a flavor base for another quick chicken stew.

 I began by smothering four chicken pieces in two tablespoons of nasi goreng paste.

I seared them on both sides in a hot pan.

Then I added a whole sliced onion.

Poured in a quarter cup of water, juice from one lemon, and and simmered it covered for 30 minutes. 
The sauce becomes rich and thick as the chicken cooks.
I mixed in a handful of cilantro leaves.
And served it with some sautéed bokchoy.

I enjoyed the heat and boldness of this dish, which complemented the crunch and simplicity of the bokchoy. The trick to cooking meats without marinating often lies in serving it with a flavorful sauce. The chicken turned out soft, moist and flavorful. The onions were a good texture companion to the dish.
Chicken with Nasi Goreng Paste
4 chicken pieces
2 tablespoons Nasi Goreng paste (available at Asian food stores)
juice of one lemon
1 whole onion, sliced into rings
1 handful washed cilantro leaves
Smother chicken in paste then sear in a hot pan with oil. Add onions, 1/4 cup water and lemon juice and cover, simmering for 30 minutes on low heat. Add cilantro leaves and mix well. Serve with a vegetable side and rice. 

Fried Shishito Peppers

It was in Barcelona that I first had fried peppers. The smoky bar called Bar Rodrigo served them sizzling on a plate, and we chewed on their crunchy salty bodies chased with gulps of wine. I fell in love.
 
I’ve always enjoyed fried peppers in tapas bars because they are sweet and have the right kind of heat along with crisp skins and the bite of rock salt. Pimentos de Padrons are commonly used in Spanish cuisine, but in Asian restaurants (and recently in modern bars), shishito peppers are the pepper of choice. They aren’t normally available in supermarkets yet but Farmer’s Markets seem to be picking them up. In New York, Union Square Market  reportedly carries them, as do Asian supermarkets like Han Ah Rheum and Sunrise Mart.
Fried shishito peppers, better made by a Japanese friend in Woodside.

I picked up some shishito peppers (in the middle) from Sunrise Mart in the East Village.
We fried them in a hot pan with some olive oil and tossed in some rock salt.
Voila! Simple, sweet, spicy, salty and full of surprises. This is great as an appetizer with wine and cocktails. Watch out for the hot ones! This one is definitely not for the faint of heart.
Related Posts Plugin for WordPress, Blogger...